Yesterday my latest Marie Claire arrived and I was looking over this spread. The brilliantly-colored accessories are so energizing. Perfectly timed, since even here in Houston we’re experiencing a cold snap. (I have some company in the studio from the plants that normally live on roof deck.)
It always seemed perfect for a DIY, but I wasn’t ever that driven to try it until I rediscovered this neon fabric cord in my supplies. For weeks I would play around the with the cord, trying to knot it into patterns, weave it into chain or make it into a cute tassel but finally i’ve got inspired.

Here’s how to make your own bright woven chain bracelet!
Materials:
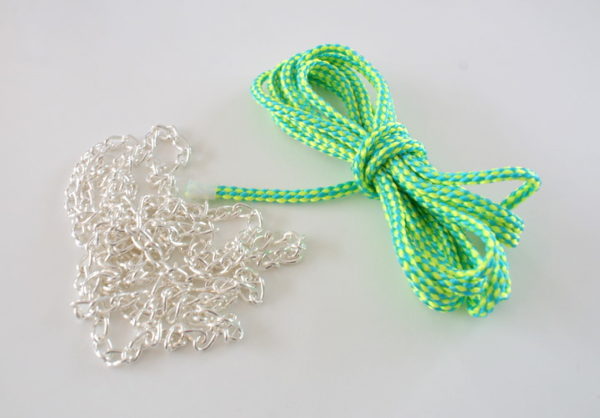
– Chain – Use what you have, or what you can find. I used 6mm x 11mm twisted cable chain similar to this. About 12in – 18in.
– Cording – Check your local fabric store, or consider shoelaces! I used about 30″ of 1/8″.
– End caps – Optional, but I like the finished look. Requires 2 per bracelet. Mine are similar to this.
If you don’t want to run around collecting all the materials yourself, you can buy a kit with everything you need from me in my Etsy shop.
1. Cut your cord to about 30 in. Be sure to tape each end to prevent unraveling. Cut 2 (or 3) lengths of chain about 6″. Since the bracelet simply ties on, it’s easily adjusted to different wrist sizes.

2. Line up your pieces of chain and begin by threading it through the links of the chain as pictured.

3. Continue threading until you’ve reached the end of the bracelet. Then, cut the extra cord to about 4 – 5 in in each end. Finish by gluing on the end caps. You can use jewelry epoxy, or even Super Glue.

4. Tie on and wear. But first, make some more- they look great together. On the pink and orange bracelet I used three layers of chain.