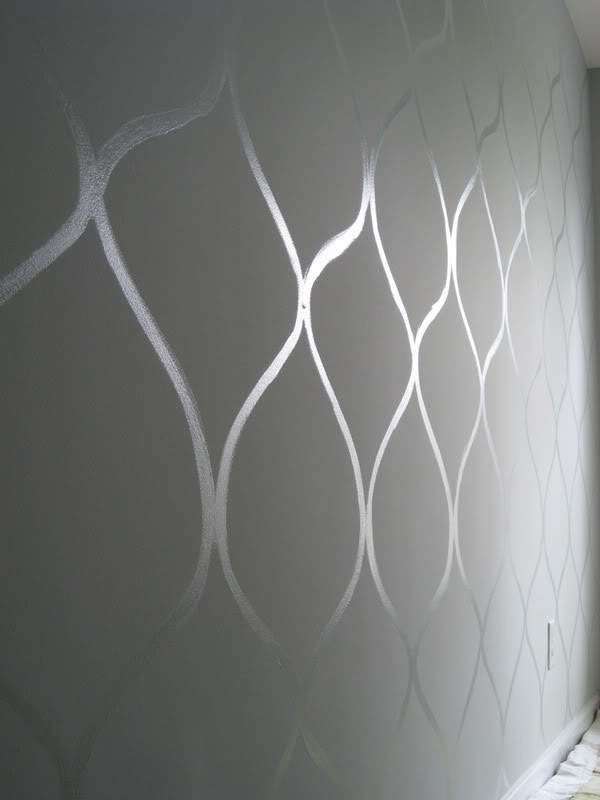
To the sweet, inquisitive young house love readers – i will be sharing my DIY Stencil Accent Wall design idea! i actually cut a stencil with an exacto blade from a pattern i drew out. i used foam board to make the stencil with, then lined it in duct tape so that it’d be water-resistant. i drew vertical lines on the wall for my “guide”, but a lot of it was just freehanded/eyeballed! sorry i don’t have a better explanation! it’s one of those things that’s kind of hard to describe! i’m also not selling any stencils, because i’m afraid it was a little awkward to do, and i don’t want any one to mess up their wall and be mad at me! 🙂 haha…anyway…let me know if you have more questions! also – the wall color is “aloof gray” by sherwin william’s! it’s a great gray!
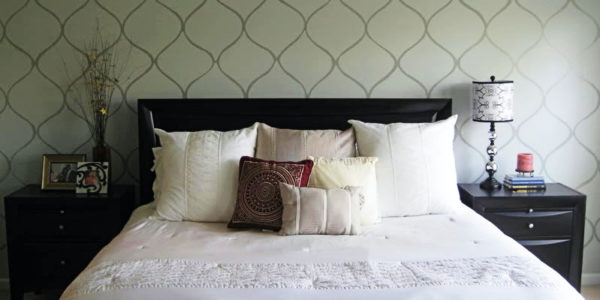
This is the accent wall that i painted this week. i’ve been wanting to do a pattern that resembled wallpaper, and i finally got to! Megan was pretty open to my ideas, so after i selected the color for her bedroom (she already had her “colors” in mind – grey and burgundy) and she had it painted, i went in and added the pattern. we were both happy with the result!
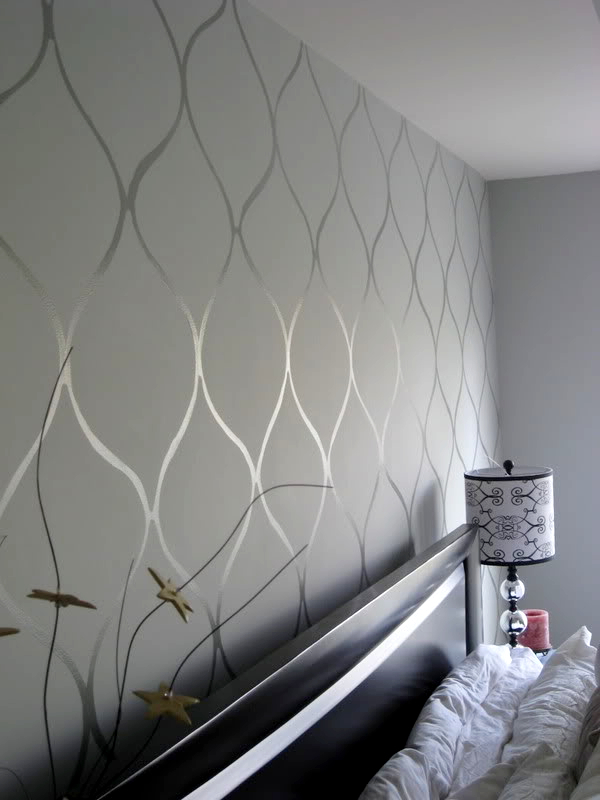
It was sort of a combination of free-hand work, and stenciling. i hand-cut a stencil for the pattern (after being inspired by a photo that a friend posted on twitter!), and hand-painted each line on.
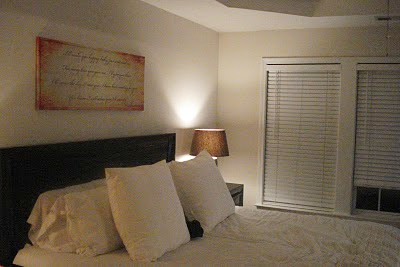
before:
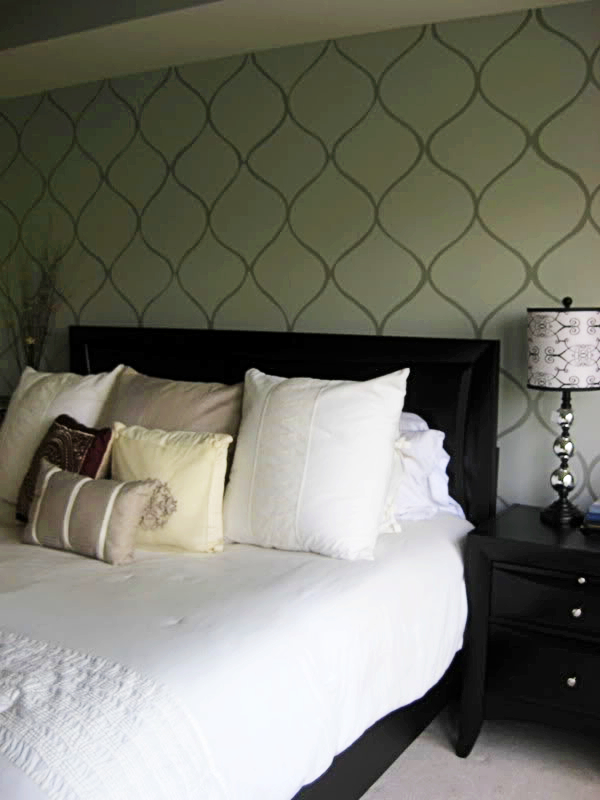
And this is after!
i used a high-gloss paint to contrast with the flat look paint that we used as the base coat:
initially, the room looked like this:
(which is the same color paint – the wall is a flat finish, and the lines are a high-gloss of the same color, BUT we decided that the lines needed to be a little darker, so we used a color 2 shades darker than the base coat. i still like the original look, though, if you are wanting something very subtle!)
The original idea and source is from kfddesigns.com