Time to repurpose and upcycle something old into something new again. I always like to re-use old things and turn them into something new. By doing it yourself, you can make them to suit your own personal tastes and fit it in with your home decor.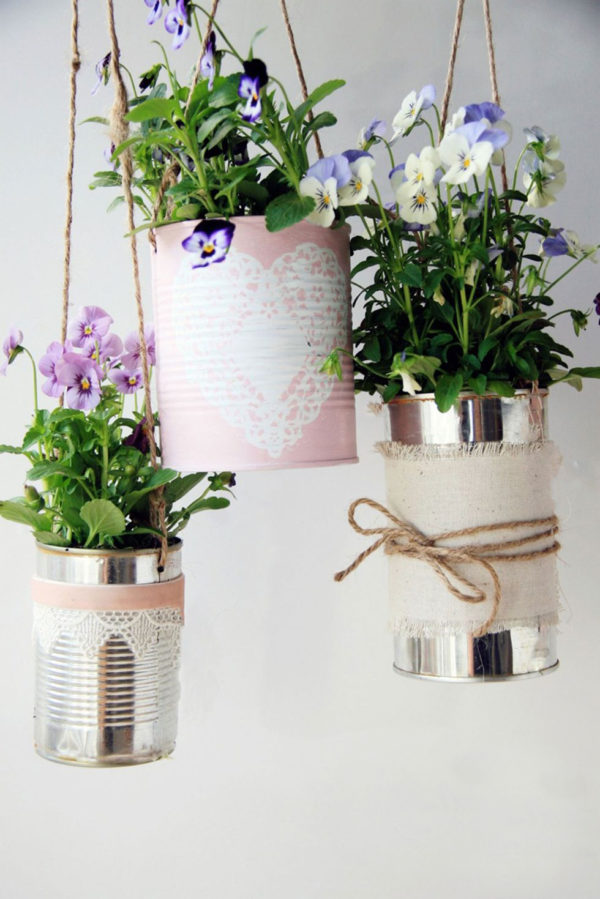
Today we’ll be upcycling your old tin cans into pretty flower pots and hanging planters. Again, very easy to do and as always you can use fabric bits and pieces that you have lying around. If you’ve just made a quilt for a bedroom, you could make some pretty flower pots to match.
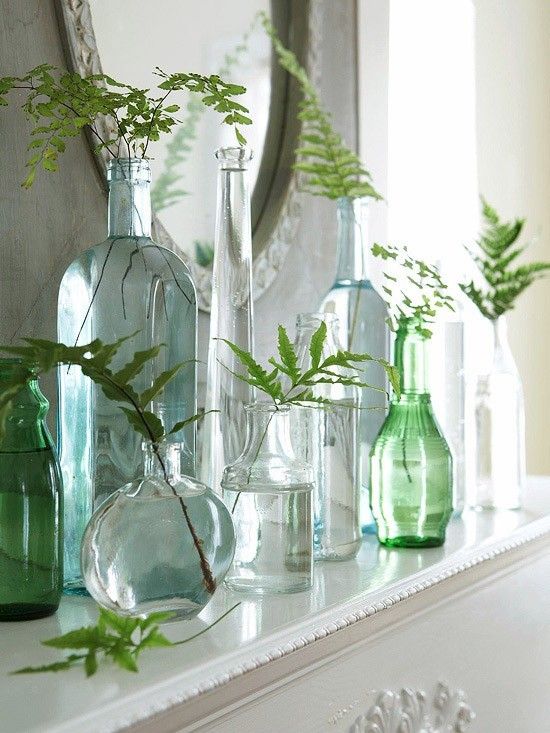
You don’t have to make pots out of your tins, you can use them as vases also.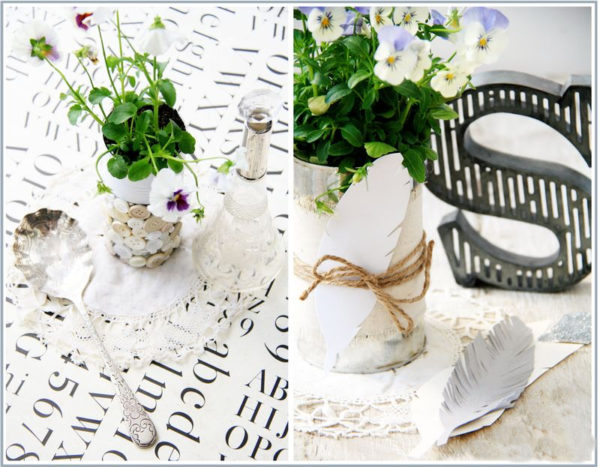
Would you like to make some?
Here’s a guideline of things that you can use…
- fabric- I mainly used linen
- buttons
- paint
- string
- doilies
- pretty paper
- ribbon and lace
- ric rac
You will also need:-
- old tin cans that have been cleaned and dried
- paint brushes
- glue- or a hot glue gun
- drill- or hammer and a large nail (if you are making them hanging)
- scissors
To make your flower pot
1. Clean and dry your old tin. If you are painting your tin, paint it and leave to dry.
2. If making it a hanging flower pot, drill two holes on each side of the tin. If you don’t have a drill, or know someone that does, use a hammer and a very big nail and nail a hole on each side of the tin. Make sure you remove the nail!
3. Decorate! Use your imagination!
This is what I did for some of mine:-
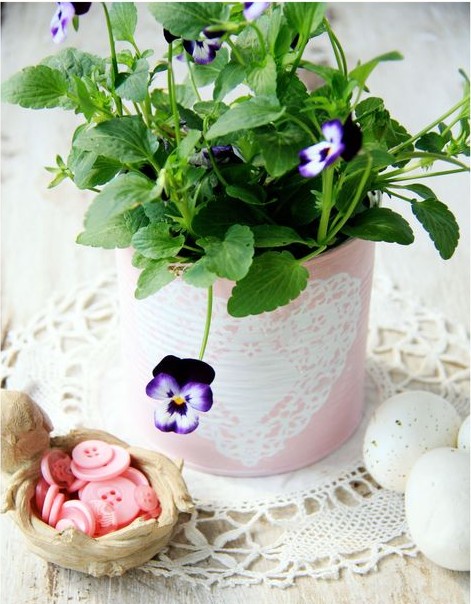
– For the doiley pot– Paint the tin white. When dry, take a paper doiley and hold it in place, whilst you dab the pink paint onto the doiley (make sure you dab, and not stroke the paint on, otherwise your pattern won’t show). Remove the doiley and paint the rest of the tin pink. You can glue a button in the middle when dry.
– For the button pot– Paint a strip of white paint around the top of the tin, about 1/3 of the way down. When dry, use a hot glue gun and glue buttons all the way around the lower 2/3’s of the tin. Leave to dry.
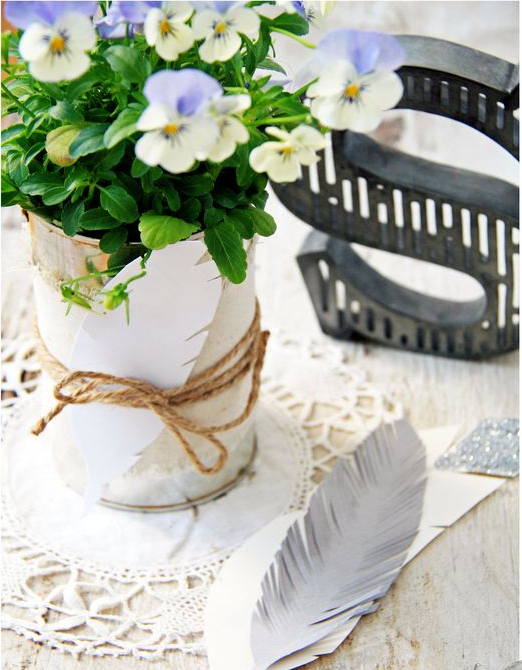
–For the fabric pot– Take a strip of linen, measure it to make sure that it goes all the way around the tin. Fray the edges of the linen. Glue the strip of fabric into place with the hot glue gun. Wrap some string around the pot several times and secure into place with a bow. You can make a paper feather using an up and coming tutorial of mine.
Now all you need to do is find some pretty pot plants to put into your newly pimped tin cans, or a gorgeous bouquet of flowers.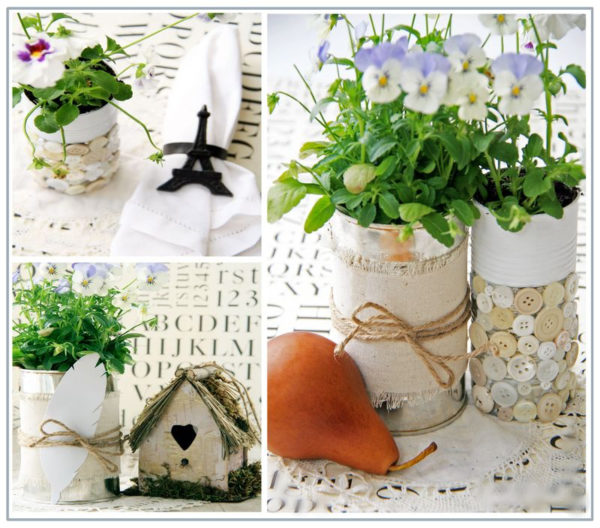
Now where are you going to put them?