These garland’s are so easy and addictive. I’ve wanted to make one of these for EVER, and when I started to think about my Christmas decor, I really wanted to include these. Now that I’ve made one, I want to make more! Don’t say I didn’t warn you, they are addictive! I’ve outlined the steps in numbers, but for those visual learners {like me!} I’ve included a link to a You Tube video tutorial that was just awesome. So here goes………

What you’ll need:
- Yarn in your choice of color
- Scissors
- Your hand!
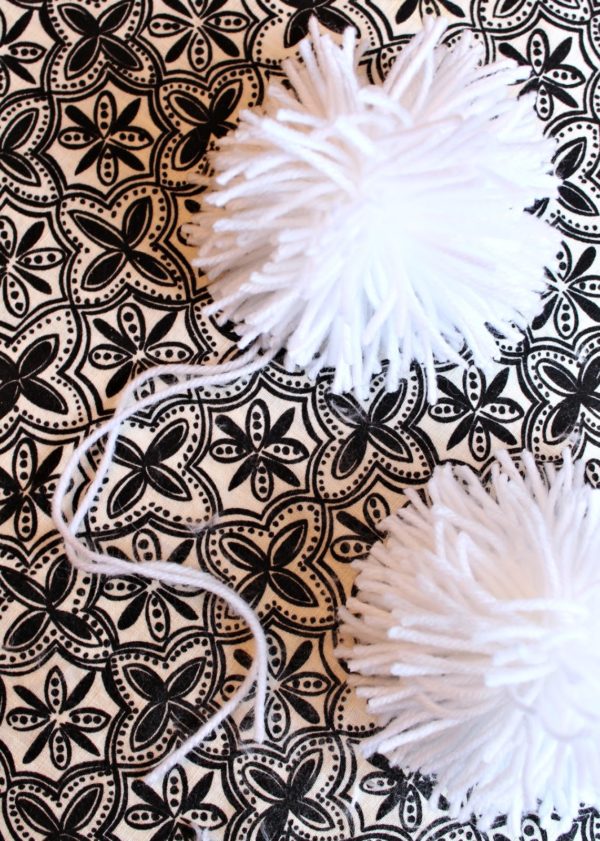
Here is simple pom pom garland tutorial:
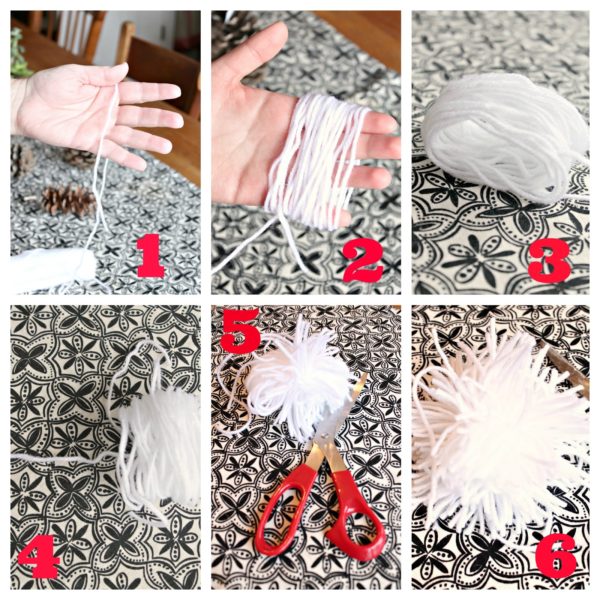
1 Begin by laying the yarn over your hand as illustrated in step 1
2 Now loosely wrap the yarn around your hand {about one hundred times}
3 Gently remove from your hand onto a flat surface
4 Cut a generous piece of yarn and lay it up under the yarn roll you removed from your hand. Take this yarn piece and tie , very tightly, around yarn roll.
5 Now, using your scissors, cut through the yarn loops taking care to cut every loop
6 Shake it out and you’ll have a pom pom
7 The most important part: in order to have a neat nicely formed pom pom, you have to give it a little hair cut to even out it’s length
8 If all that has blown your mind, here’s the link to the pom pom craft ideas
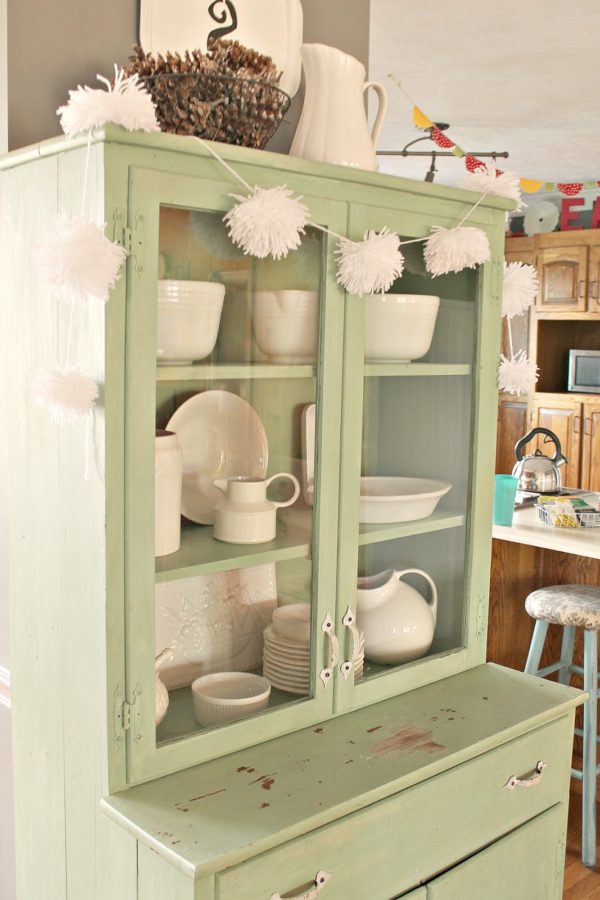
Thanks y’all for joining me today and for helping me kick off the Christmas season with a fun little garland craft. Happy Pom Pom-ing!
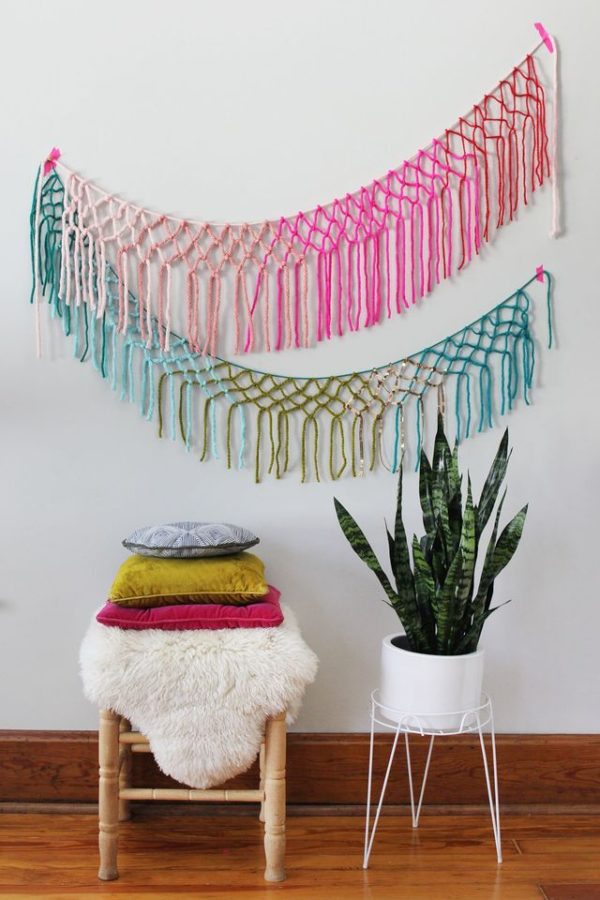
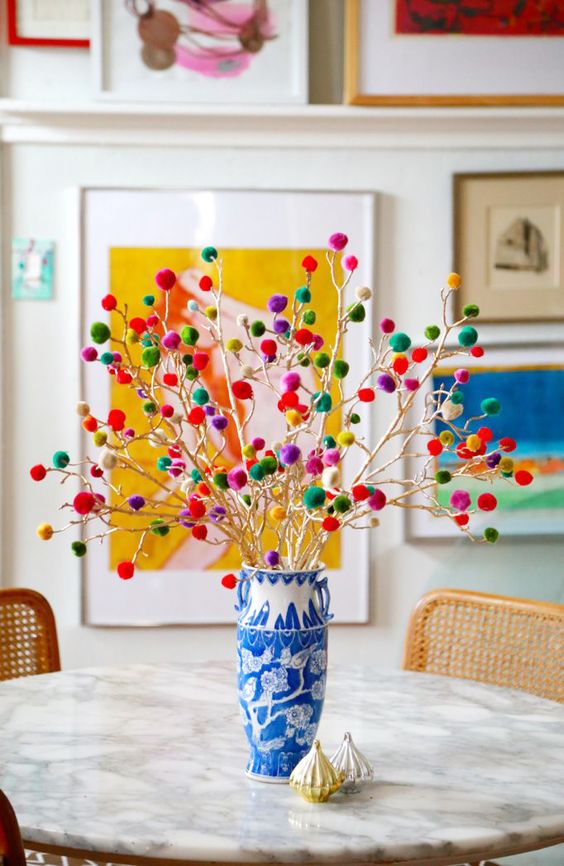
Here is some of my favorite yarn craft ideas