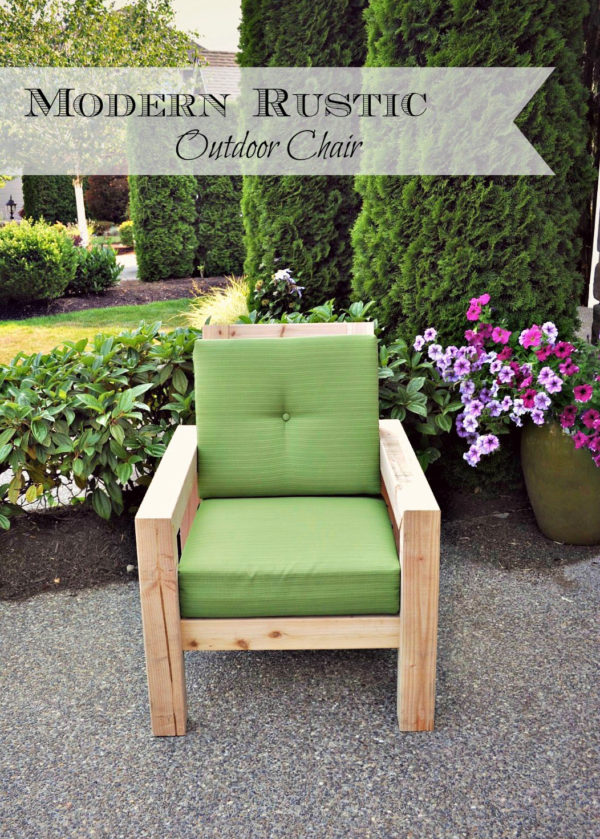
Today i will be sharing my DIY Modern Outdoor Chair tutorial and a plan ! This chair design was inspired by a combination of styles I’ve seen, such as the Belvedere and Costa outdoor lounge chairs from Restoration Hardware. I need a couple new chairs for my front porch at the cabin, so I thought I would try out a new design.
Based on my previous outdoor chair/sofa projects, I knew I would have to select the cushions first and then design the frame around its measurements. So I went online and found these great Squier cushions on sale from Target ($90 for set of 2). That gave me the basic measurements to determine the seat width and height for the chair.
- Cushion Seat Dimensions: 7.5″ T x 24.0 ” D x 22.0 ” W
- Cushion Back Dimensions: 5.75 ” T x 19.25 ” D x 22.0 ” W
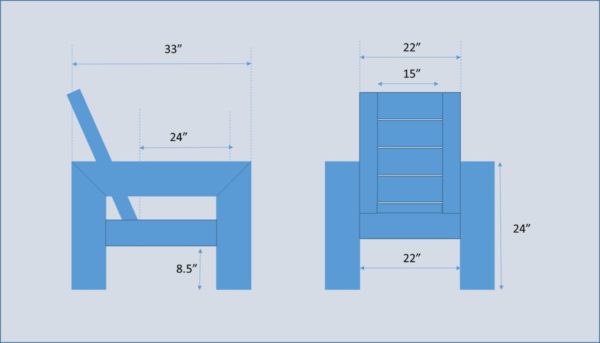
From there, I drew out my plan on a piece of scrap paper. Side note, I really wish I knew how to use Sketch Up to draw a plan – putting that on my to-do list to learn someday soon :). Here’s a version drawn up in PowerPoint.
Then I picked up the lumber I would need, it’s mostly cedar except for the 4″x4″s which are Douglas Fir. I would have purchased cedar for those as well, but the lumber was a little sparse and rough that day at the big-box hardware store. Truth be told, I am just as much a fan of Doug Fir for outdoor furniture, it much less expensive and wears really well outdoors (rot resistant). Here was my shopping list:
- 2 – 4″x4″x8′
- 2 – 2″x4″x8′
- 2 – 5/4″x4″x8′
- 1 – 2″x2″x8′
- 1 – 2″x6″8′
- Exterior screws
- 5″ hex head decking screws (FastenMaster HeadLok)
- Gorilla wood glue
And my cut list:
- 4 – 4″x4″ pieces cut with one end at a 45 degree angle to 24″ length (long side) – legs
- 2 – 4″x4″ pieces cut with two ends at 45 degree angle to 33″ length (long side) – armrests that connect the legs
- 3 – 2″x4″ pieces cut to 22″ length (or same as seat cushion width) – seat front/rear and back brace
- 2 – 2″x2″ pieces cut to 22″ length (or same as seat cushion width) – seat support
- 2 – 2″x4″ pieces cut to 26″ length – seat sides
- 6 – 5/4″x4″ pieces cut to 26″ length – seat top
- 2 – 2″x4″ pieces cut to 26″ length (or same as back cushion height plus seat cushion depth) – seat back
- 4 – 2″x6″ pieces cut to 15″ length – seat back
- 1 – 2″x4″ piece cut to 15″ length – seat back
I started by predrilling for the pocket hole screws I would need in the 4″x4″ armrests (hidden on the short side underneath). Then I assembled the arm/leg pieces by matching up the 45 degree angles. Once they were aligned, I glued and clamped. Then I came back once those were dry a day later and inserted 3.5″ exterior screws into the pocket holes underneath. I find it easier to screw them together after they are held tight by the wood glue. Then, I drilled pocket holes and screwed in the 26″ long 2″x4″ pieces between the legs, so that the top of the 2″x4″ would be 12″ off the ground. This establishes the seat height at 12″ high.
Then, I assembled the seats by lining up the 5/4″x4″ cut pieces and the overlaying the 22″ long 2″x2″s across the ends. I screwed them in from the bottom so that the 2x2s will not show. Then I aligned the 22″ long 2″x4″ end pieces and connected them by screwing them to the 2″x2″s as well.
To make the seat back I lined up all of the 15″ long 2″x6″ pieces and the one 2″x4″ and aligned them across the 26″ 2″x4″s. I glued them together and clamped until dry. It would probably be a good idea to come back and screw it together (probably using more of the 5″ hex head deck screws for an industrial look) – however it was held together well by the glue so I skipped that step for now :).
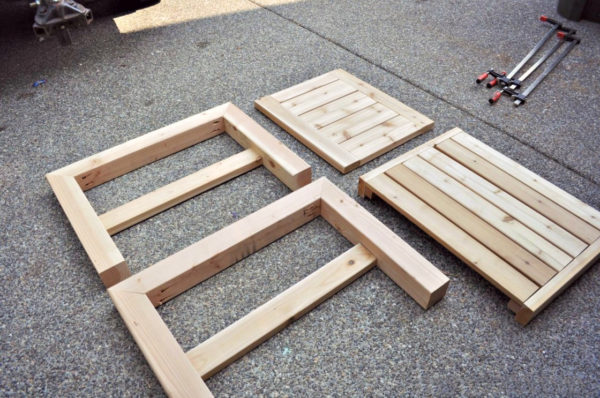
Here are the pieces I now have to assemble into a chair.
From there I took the seat the I just made and connected it to the arm/leg frames at 12″ high from the ground. I used glue and 5″ decking screws (hex head) to connect them from the outside of the frame.

Next once the seat was in place, I used the seat cushion to establish where the seat back would connect to the seat and tilted it at about a 12 degree angle (until it was comfortably reclined). I then used pocket hole screws to connect the back brace for the seat back to rest against. And I put in the seat back, turned the chair upside-down and screwed it in from the bottom.
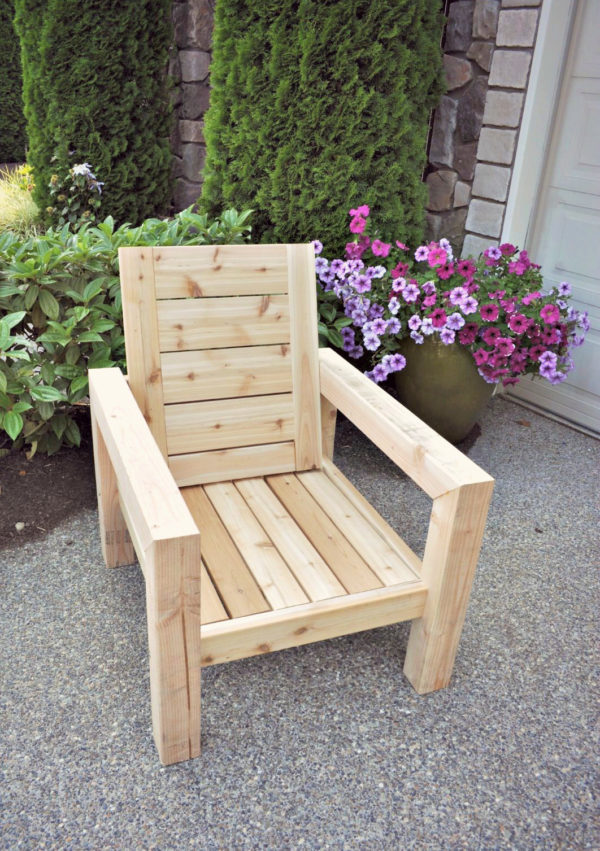
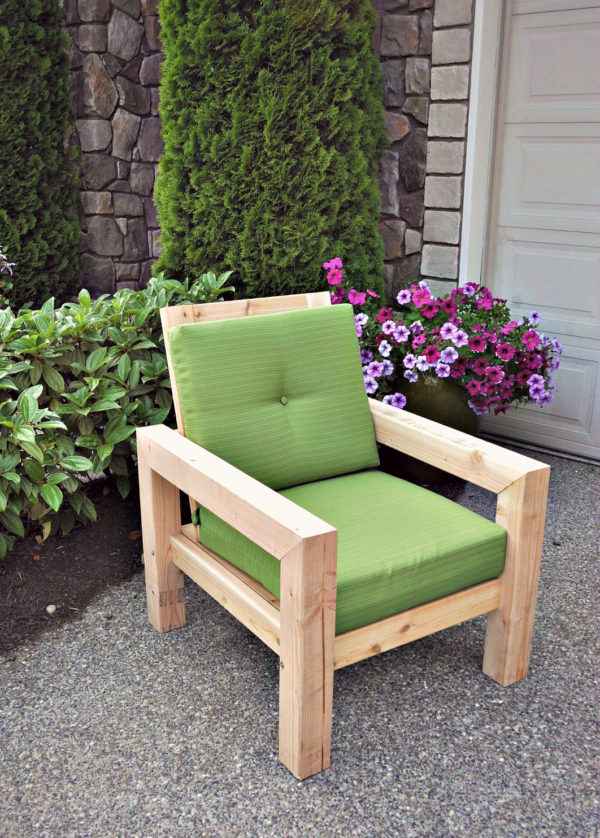
Here’s what DIY outdoor chair looked like once it was all assembled.
Finally, I put in the cushions and here you have it!
I recognize it’s hard to follow plans that are mostly narrative. I hope in the future to be able to illustrate some of these. In the meantime, I hope you found this DIY project helpful – enjoy the summer! Please like & share 🙂
Cheers!
Author: Susan from graytablehome.com