I have done a number of wine bottle projects in the past, including my recent humming bird feeders. There are so many interesting ways to give a standard size, glass wine bottle new life. Until now I haven’t had any ideas of what could be made with a large wine bottle. So, there are four large, clear bottles that have been lingering, unused, in my collection.
I was inspired when Jennifer, one of my very crafty friends, showed me a picture of a bird feeder made from a wine bottle. We were both excited about the concept. We chatted about how cute it was, but we saw some issues with the functionality of the design. I kept thinking about the bird feeder idea and finally came up with my own design that is fairly inexpensive and doesn’t require any glass cutting.
Materials
- large wine bottle
- 6 inch square glass plate ( I found mine at the grocery store for less than $2)
- 24-30 inches of 12 gauge galvanized utility wire
- silicon adhesive
- dry erase marker
- ruler
- drill with 1/8 inch glass and tile bit and a 1/2 inch glass bit
- pliers
- wire cutter
- safety glasses
Directions
Start by washing and removing the label from your wine bottle.
 | Use a ruler and dry erase marker to locate and mark the center of the plate and the center of the bottle bottom. |
") | Use the 1/8 inch glass and tile bit to drill a hole at the center of the plate and the center of the bottle bottom. (Make sure you are wearing your safety glasses. You don’t want to get any glass particles or fragments in your peepers!) |
") | Use a dry erase marker to draw two half inch circles, one on each side of the bottle, about an inch up from the bottom. Make sure they are not on or near the seams of the bottle. |
") | Use the 1/2 inch glass bit to drill where you marked. Again, make sure to wear your safety glasses. |
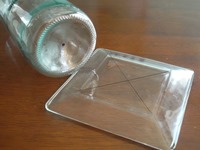
") | Turn the bottle upside down and apply 4 dots of silicon adhesive along the edges of the bottom of the bottle. |
") | Turn the plate upside down and position it over the bottle. Set the plate onto the bottle making sure that the holes you drilled are aligned. I used a toothpick to help me check the positioning. Let the glue dry completely. |
") | Use a pliers to bend a loop, about the size of a quarter, in one end of the wire. Bend the remaining length of wire up at a 90 degree angle. (It kind of looks like the tool you dip Easter eggs with when you dye them.) |
") | Run the length of wire so it goes through the plate, then the bottle and out the top of the bottle. The loop that you made will be under the plate. |
") | Finally, bend a loop in the top of the wire so you can hang your feeder.
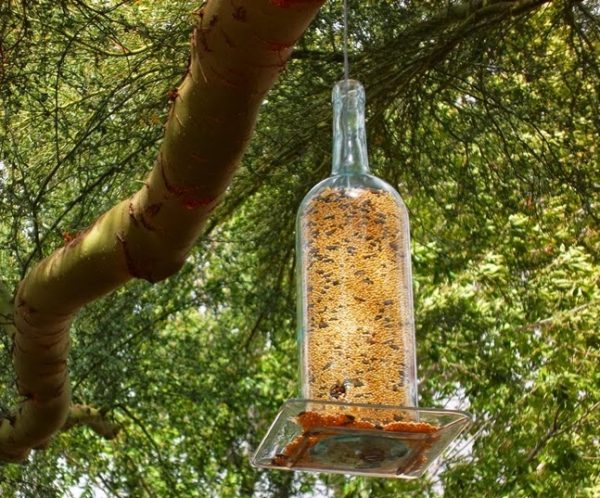
All you need to do now is fill your feeder and hang it outside. |
My first attempt at filling this feeder turned out to be a disaster. The neck of the bottle is pretty narrow and I spilled bird food all over the place. You can avoid my mistake by making a simple paper funnel so the seeds go into the bottle without all the mess. Much easier and cleaner.
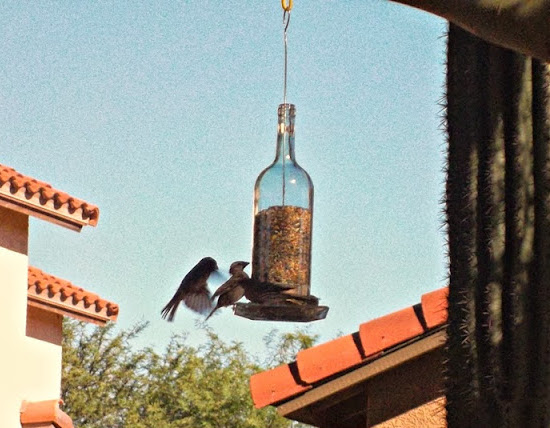
If you are wondering whether the birds will like this type of feeder… They look happy to me.